An AI based image tagger for photographers
At a glance:
- open source image recognition tool for photographers
- ready-to-use binaries for Windows, macOS and Linux available on the download page
- source code available on github
- works with standard XMP metadata, usable with a wide range of apps
- runs on your local machine; no internet connection needed, no cloud access or subscription necessary

Using STAG to automatically tag images
Last week we released STAG, an automatic image tagger aimed at amateur and professional photographers.
STAG works by recursively traversing a given directory, analyzing the images and saving the recognized tags into XMP sidecar files.
In this article, we want to shed a little light on how to use STAG in your photography workflow.
STAG has been tested with darktable and Capture One, but it should work with any photography management application that supports XMP sidecar files.
For this article we’ll be using darktable as an example.
What STAG can and cannot do
Before we take a deeper dive it’s important to stress that STAG (or rather: the recognize-anything model that is used by STAG) excels at recognizing common image categories (like “animal”, “table”, “building”, “landscape”, “dog”, “cat”, “horse”, “bird”, “tree” etc.), but it is not meant to recognize specific things faces, landmarks, memorials, monuments, etc. So it won’t help you find images of “Franz”, “The Wadden Sea”, “andalusian wild cat” or anything like that.
As such, STAG can be a great help in organizing your images and taking care of all the tedious preparatory work; but if you need deeper cateogrization of your images, you still have to do some of that by yourself.
Premise
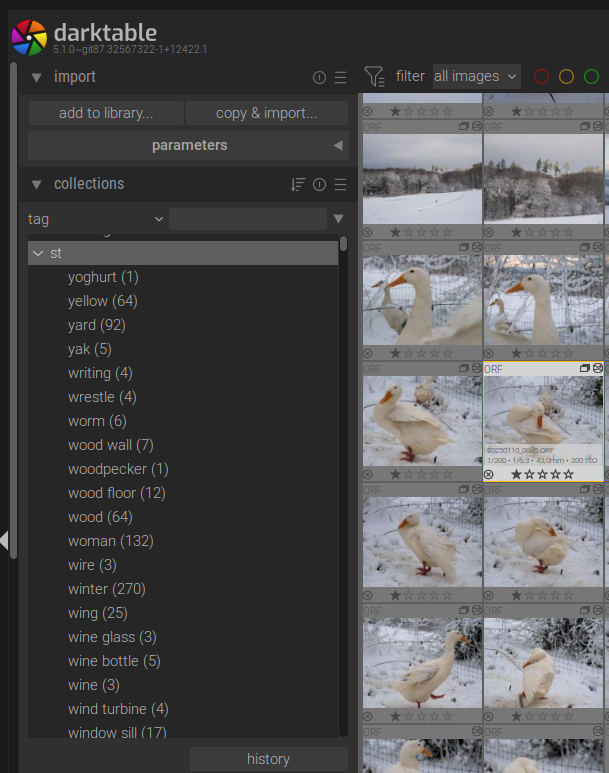
Let’s say you have a big collection of images that is not (yet) tagged in any way.
You take a lot of pictures of animals, and you would really love to have them sorted by animal type (horse, dog, duck, sheep, etc.).
Unfortunately you never got around to manually tag them, so your library now is a big old mess, looking a little bit like this:

Now to effectively use XMP metadata created by third-party programs like STAG, darktable needs to have the “look for updated XMP files on startup” option checked in its “storage” preferences, so let’s ensure that before doing anything else:

STAG to the rescue
To have STAG automatically tag your images, you first need to download it from the download page. There are binaries provided for Linux, macOS and Windows.
For this article, we’ll use the Linux version (but the macOS and Windows versions are virtually identical).
Once unzipped and started, STAG looks like this:
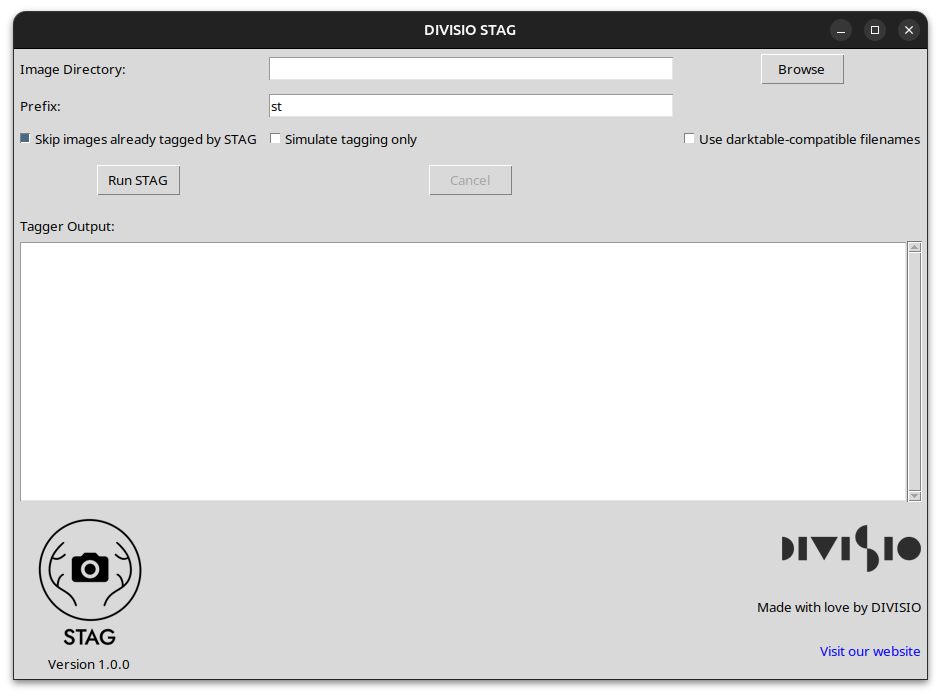
Upon launching STAG, the first step is to browse and select the directory containing your images. STAG will process each image in this directory and any subdirectories.
The “prefix” is a unique identifier that STAG will prepend to each tag it generates, making it easy to identify later. For instance, using the default prefix “st” will result in hierarchical tags like “st|cat”, “st|horse” and so on.
Since we’re using darktable for this example, we also need to check the “Use darktable-compatible filenames” checkbox (which lets STAG generate XMP files that darktable can actually find later on).
First run
When running STAG for the first time, it needs to download the recognize-anything model from huggingface in order to be able to run locally on your own machine only. As the model is 3.2GB in size, this process can take a few minutes. The model is only downloaded once. This download process looks like this:
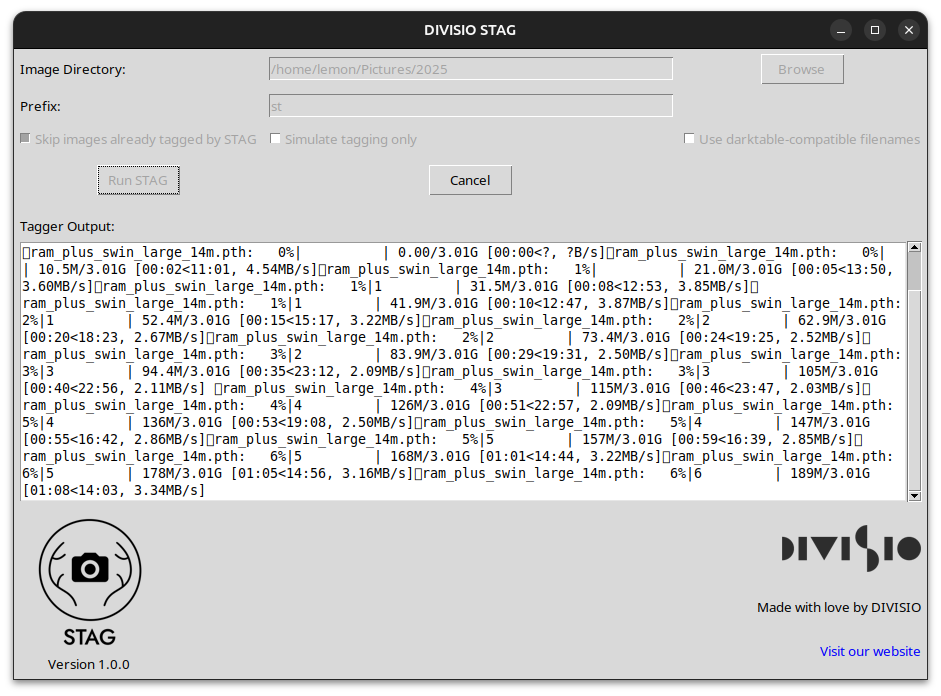
Although it doesn’t look nice, this is completely normal.
The tagging process
Once STAG has downloaded the model, it will begin tagging your images and writing the result into sidecar XMP files (if there are already XMP files, those will be used):
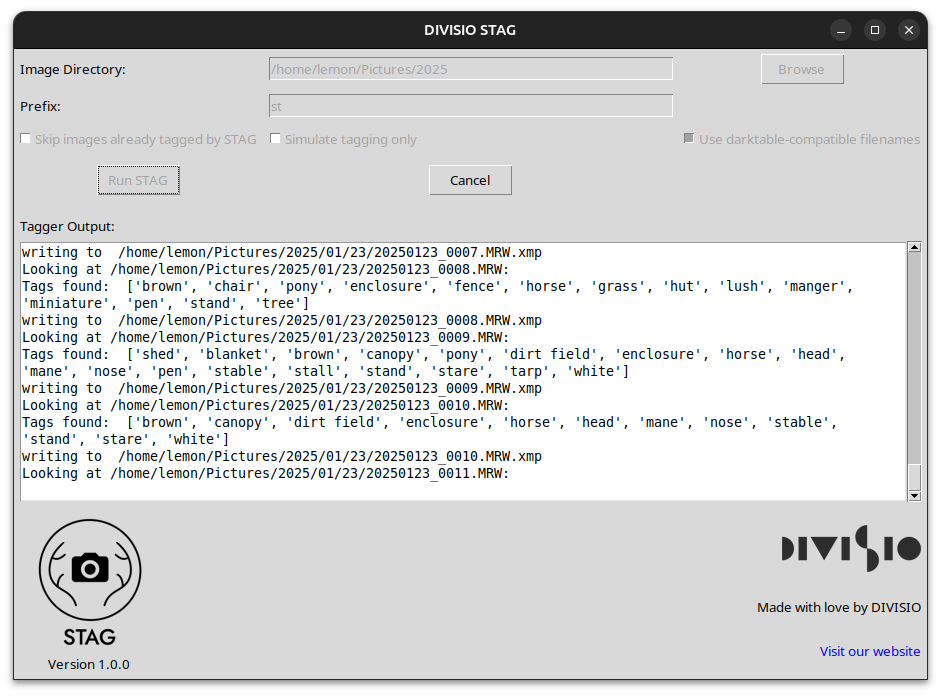
When tagging, STAG descends your given directory recursively, trying to tag all pictures it finds there.
Once finished, it’s time to start up darktable again.
Getting tags into your DAM
Working with STAG-created keywords will be different depending on what software you are using. Capture One for example automatically detects changes to the XMP file and updates its metadata accordingly.
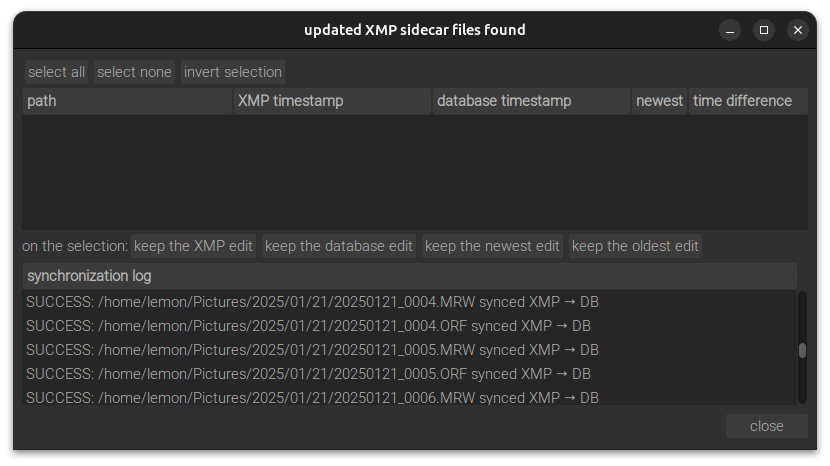
darktable on the other hand needs a little more help and should greet you with a window like this after starting up (if you don’t see this window, make sure that you have checked the “look for updated XMP files” option, cf. “Premise” above):
 ]
]
Don’t worry, this is only darktable telling you that it found changes in its XMP files and doesn’t know what to do with them. To import STAG generated keywords into your darktable image database,
- Click “select all” at the top of the list
- Click “keep the XMP edit” at the bottom of the list
Depending on how many images were tagged, darktable will now take a little time to update its database and then show a report about the synchronization process:
 (images/dtsync.png)]
Congratulations, you have successfully tagged your images and imported the results into darktable!
Working with tags
To actually make use of your new tags, navigate to the “collections” panel of darktable. In its (not terribly useful) default state, this panel lets you filter your images by “film roll”. Now, let’s change this to “tag”:
Now that’s more like it. Under the “st” hierarchy, you can see every tag that STAG has found in your images. You can now use the collection filter to look for a specific image.
Let’s say I vividly remember having taken a picture of a horse with snow in the background and the sky clearly visible.
First, let’s look for all the horses by double-clicking the “horse” tag (or typing “st|horse” into the tag search box):
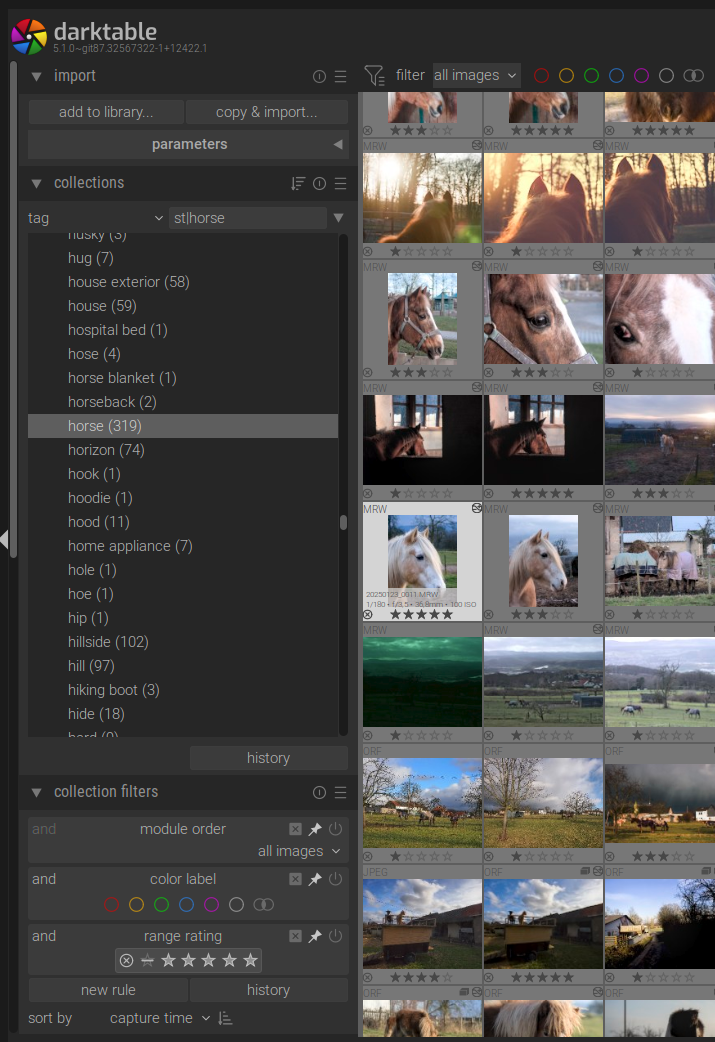
319 pictures of horses. Whoa, that’s quite a lot. It certainly helps, but STAG can be much more helpful still. Because I know, there was snow on the picture, I can narrow down the search by adding a second search rule:
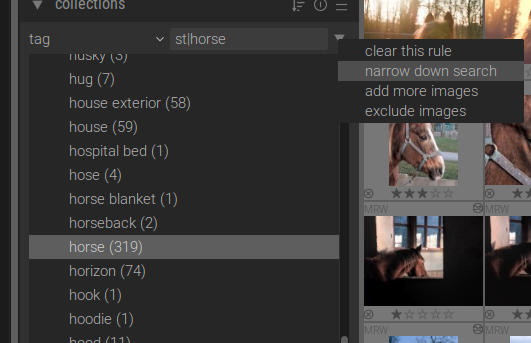
Selecting “st|snow” from my list of keywords (or typing it in directly), and…
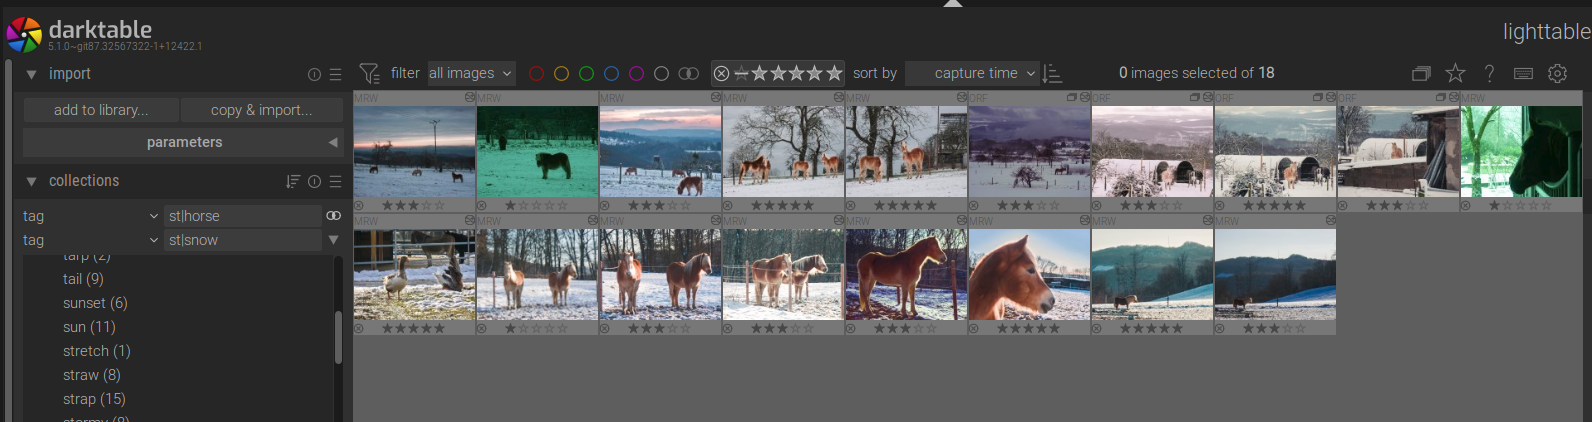
…yes, this is much easier to handle.
If I wanted to, I could now even narrow down the search further and look for images that have dominantly visible sky in it:
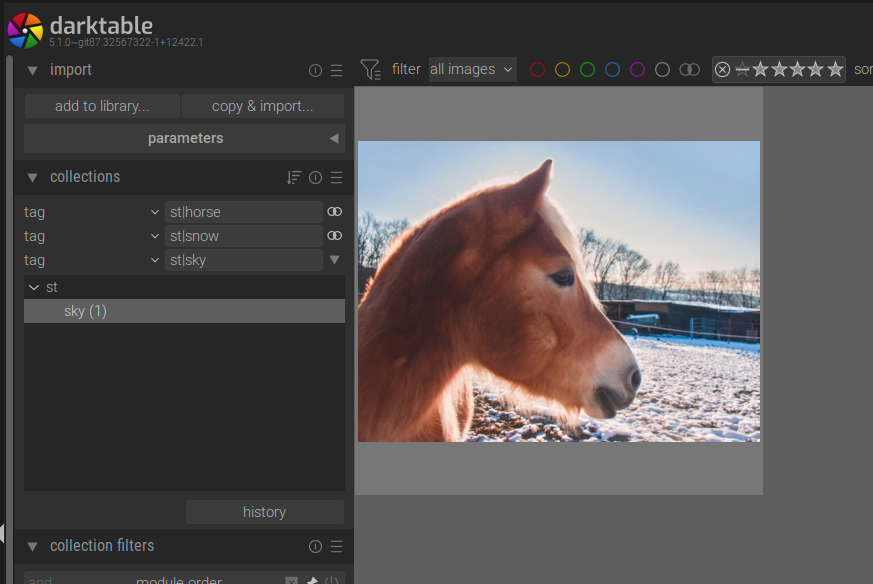
…and believe it or not, this was exactly the picture that I was looking for!
Tagging more photos
If you have added images to your photo library folder since the last STAG run, you can simply run STAG again on the same folder hierarchy. STAG detects if it has already tagged an image (by checking its XMP sidecar file for an existing prefix) and won’t tag the image again (unless expressly told so by deselecting the “Skip images already tagged by STAG” option)
Conclusion
We have shown how to use STAG in a photography workflow. We have demonstrated how STAG’s capability to recognize general image categroies can be used for specific image searches, thus helping to bing more structure into an existing image library.
If you want to dive deeper into working with stag, there’s an extensive README on our GitHub page.