Ollama Installation for Beginners
In the podcast “Künstlich Klug” that we produce together with afritz Consulting, we explain how to run LLMs yourself and achieve maximum data privacy and independence. The tool of choice here is Ollama. For those who find our introduction to Ollama for developers too technical, we have compiled a beginner-friendly installation guide here.
What can Ollama do?
Ollama is a program for running LLMs/chatbots on your own hardware. In addition to the “big” models from Google, OpenAI, Anthropic and co., there are numerous so-called “Open Weights” models that are small enough to be used even on a home PC/laptop. While these are not quite as powerful as the flagships of the major providers, the Pareto principle applies here: with 20% (or even 2%) of the computing power and model size, you can achieve 80-95% of the performance (depending on the task and model) of the large models. In general: the larger and newer the Open Weights model, the better. You should therefore test your way up from small models to find out which is the largest model that still runs at an acceptable speed on your own computer.
The convient thing about Ollama: the common Open Weights models are automatically downloaded on request, there is a handy overview page with detailed information. On Windows and Mac there is a graphical user interface that lets you start chatting right away. On Linux you have to make do with the console or use an alternative chat interface like [Librechat] (https://www.librechat.ai/).
Installation on Windows
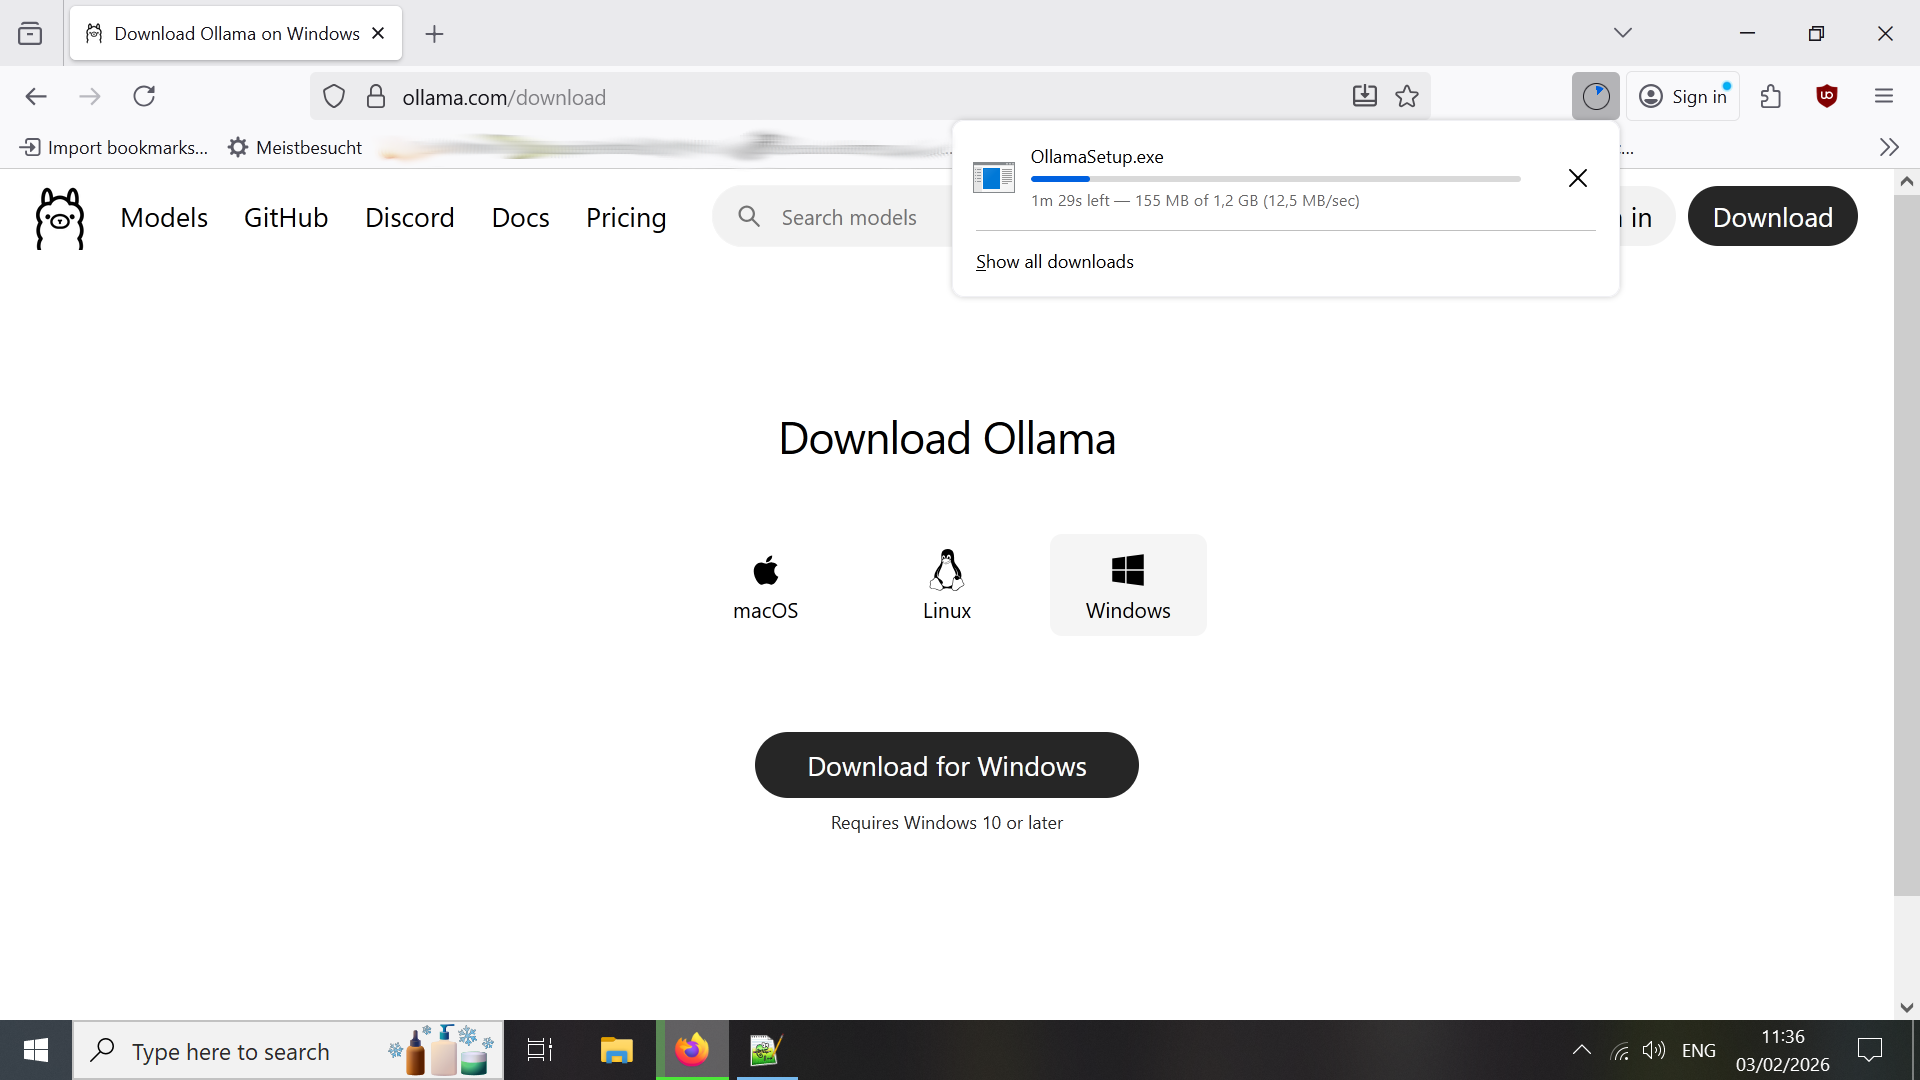
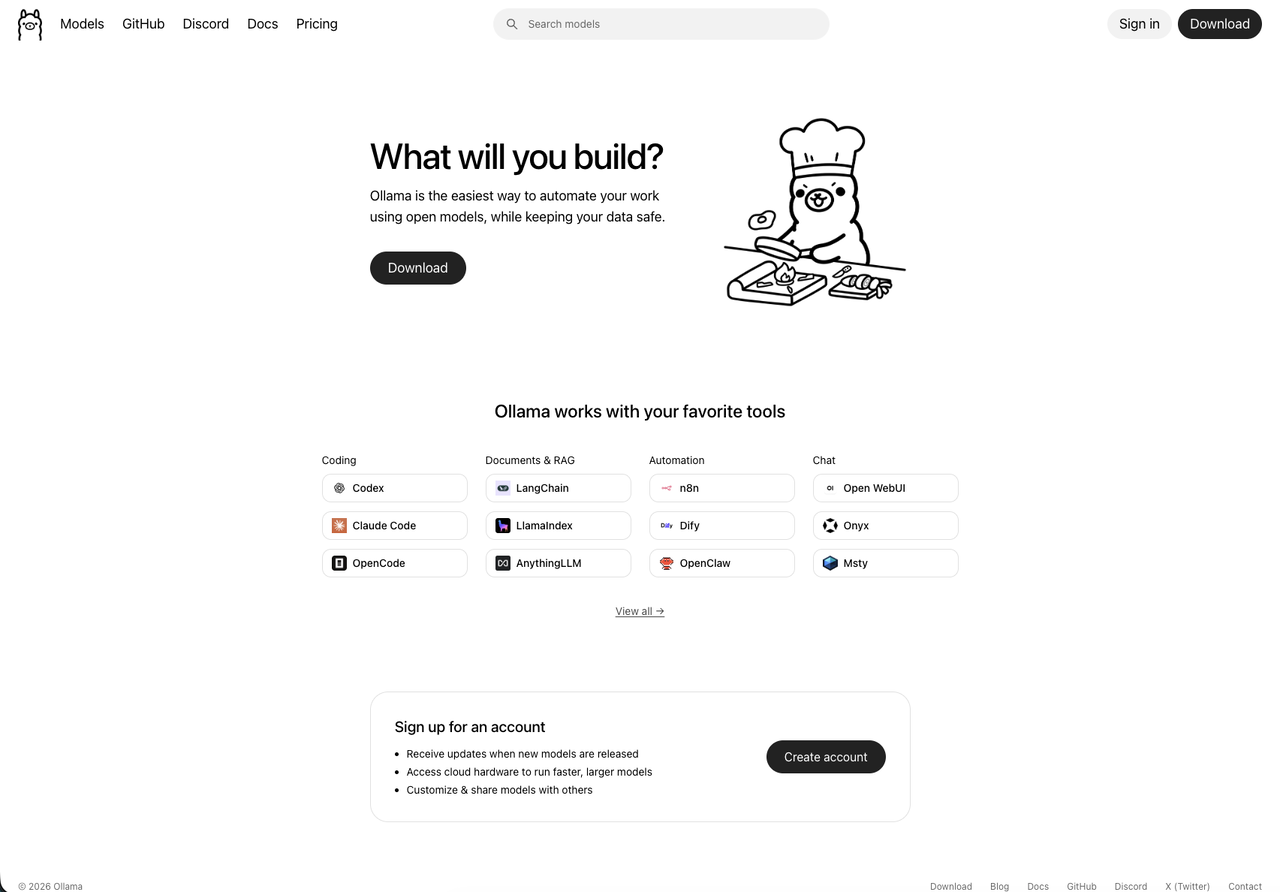
First, you need to download the Ollama installation file from [https://ollama.com/download/windows]:
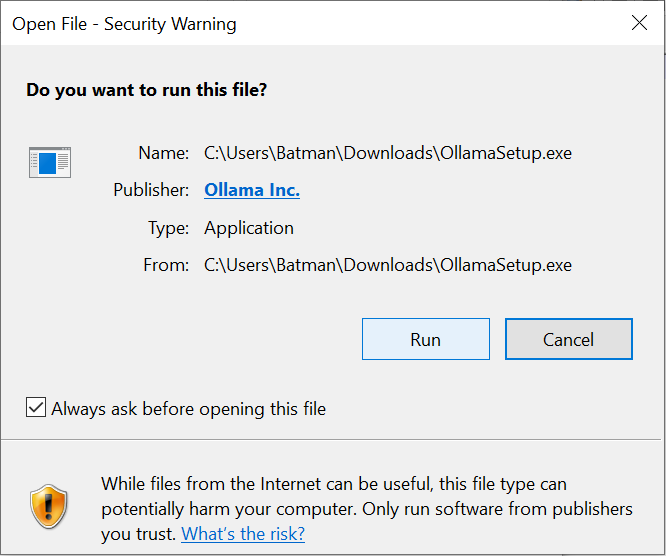
Then you need to run the installer. To do this, you need to confirm that you want to run the program OllamaSetup.exe:
Then you need to start the actual installation by clicking on “Install”:

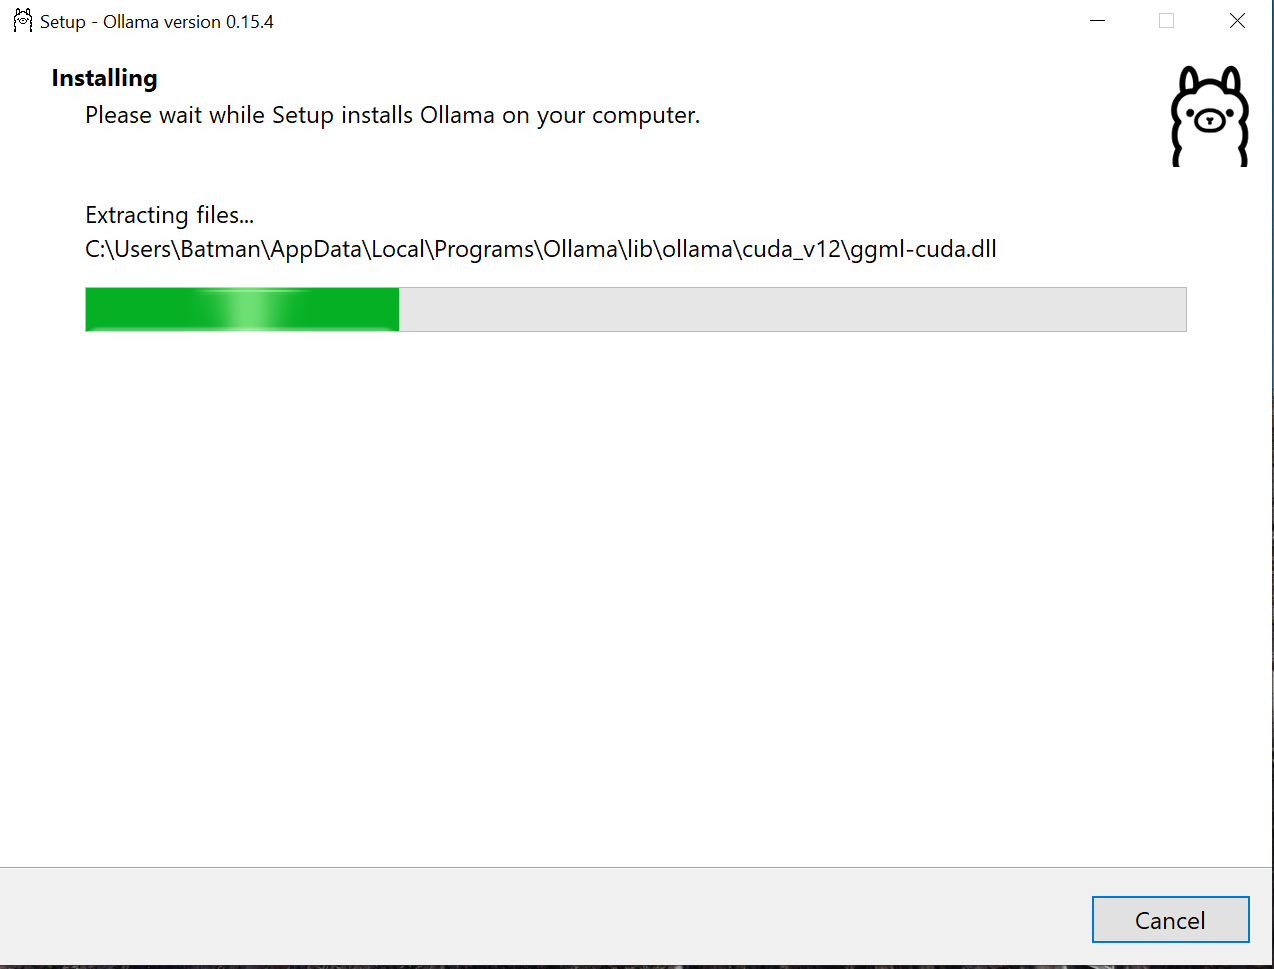
Now the installer installs all necessary files - this can take a while (LLMs are not installed yet):
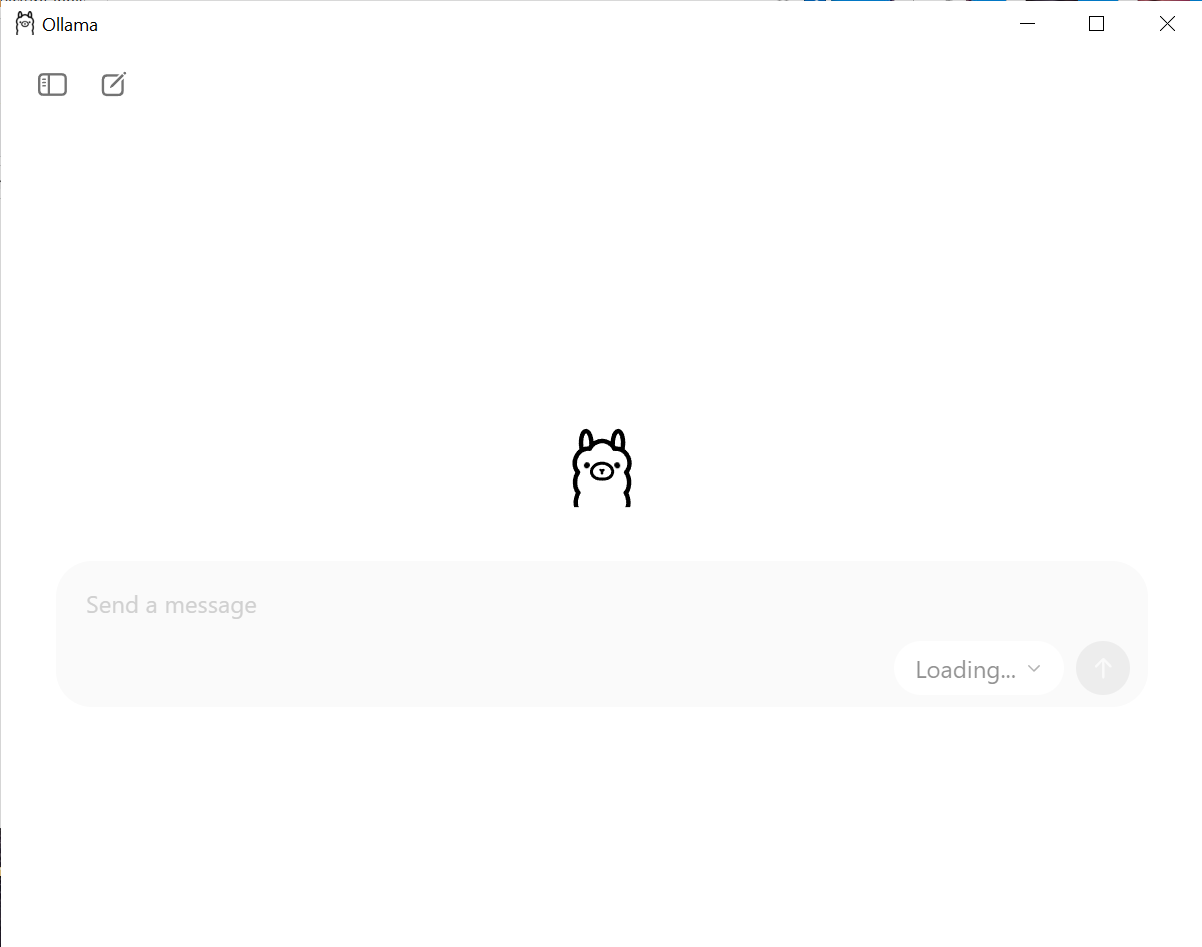
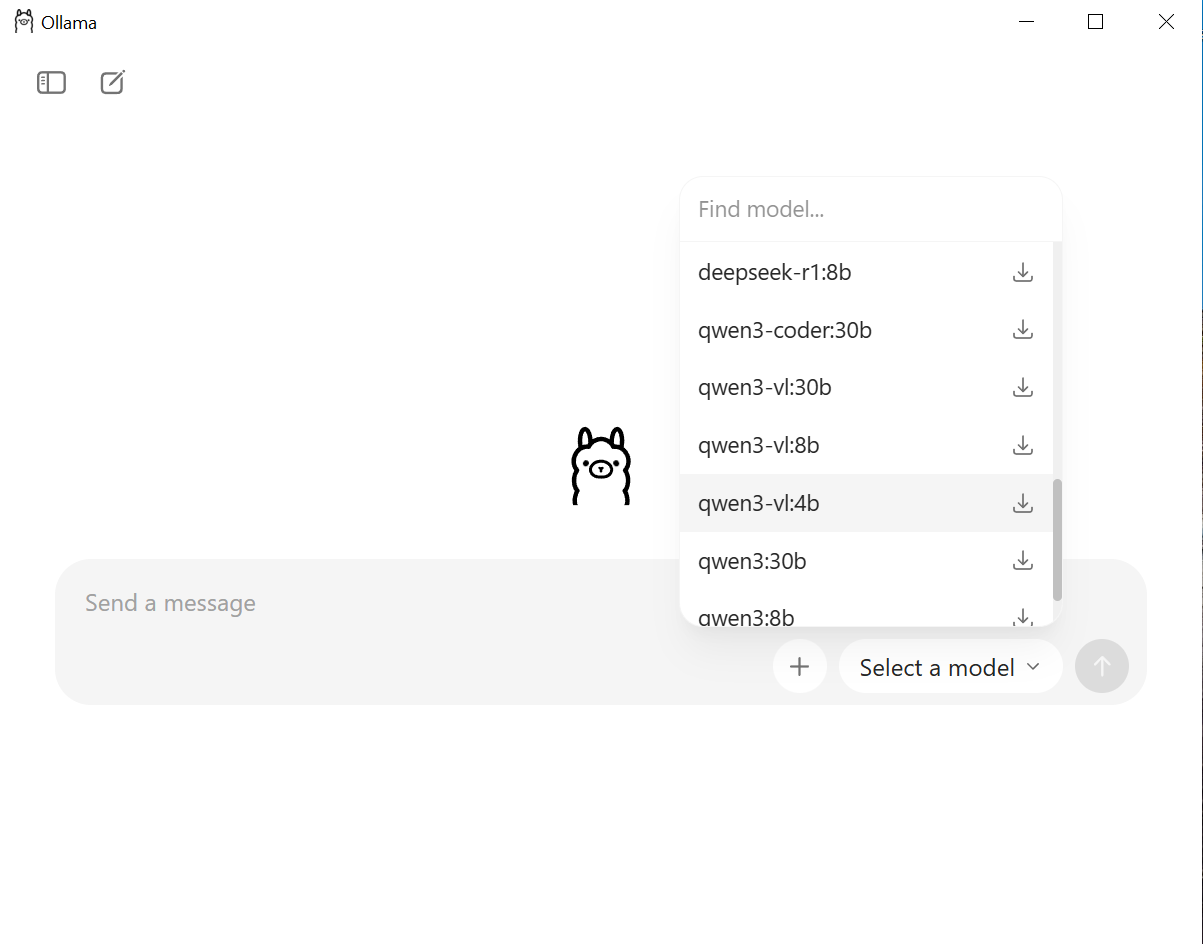
Now the installation is complete and you are greeted with a chat window. However, you need to be patient for a moment, because Ollama is now loading the current list of LLMs available for download (recognizable by the grayed-out dropdown menu at the bottom right with the label “Loading…”):
Once this list is updated, you can select the desired model for chatting via the dropdown menu. If it is not yet installed, it will be downloaded automatically, which can take a while. Good starter candidates are the qwen3 and gemma models. The number after the colon is the number of parameters in billions (hence the ‘b’ in the name). You should start small here and work your way up to see what works well on your own computer. Models with 2 billion parameters or more should be able to keep up with chatGPT 3.5 (at least in English), from 8 billion parameters or more you have almost the performance of chatGPT 4, with even larger models you get closer and closer to the large commercial models.
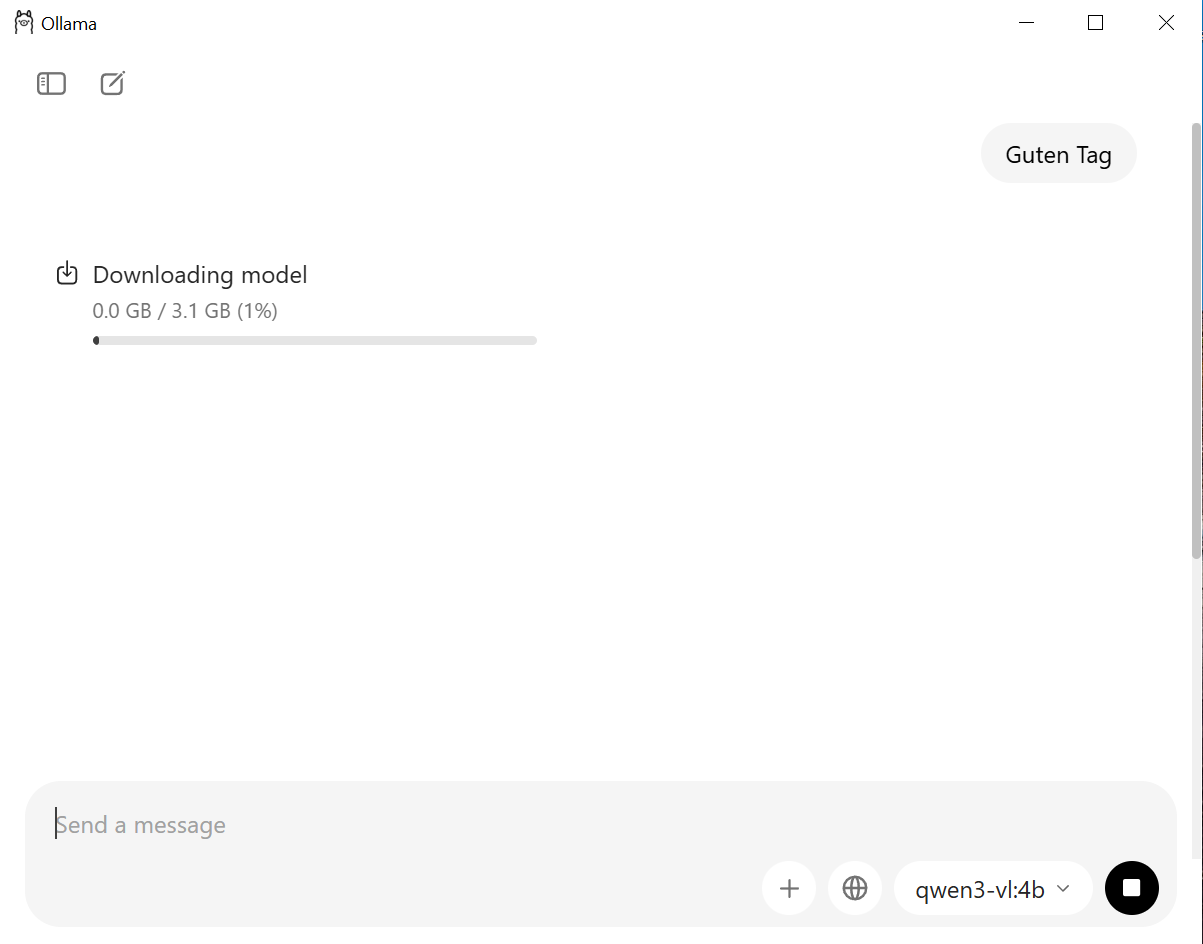
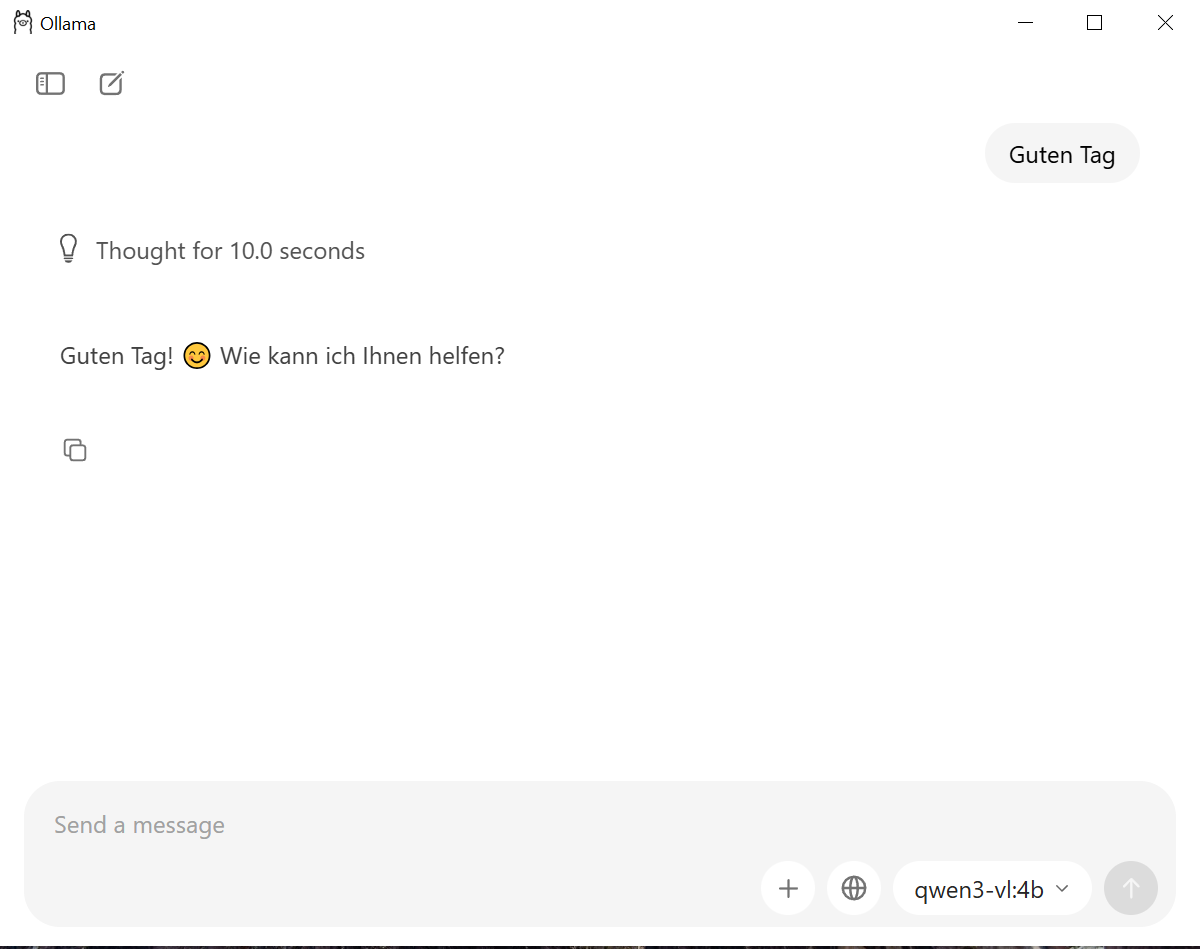
Once the download is complete, you can simply start chatting - but be careful, “thinking” / “reasoning” models think quite a lot, so the answer can take a while.
More information about the Ollama user interface can be found here: [https://ollama.com/blog/new-app]
If you want, you can also integrate local LLMs into your own software with Ollama, the documentation can be found here: [https://docs.ollama.com/]
Installation on Mac
Go to [https://ollama.com] and click on the Download button. The installation file will be saved to your Downloads folder.
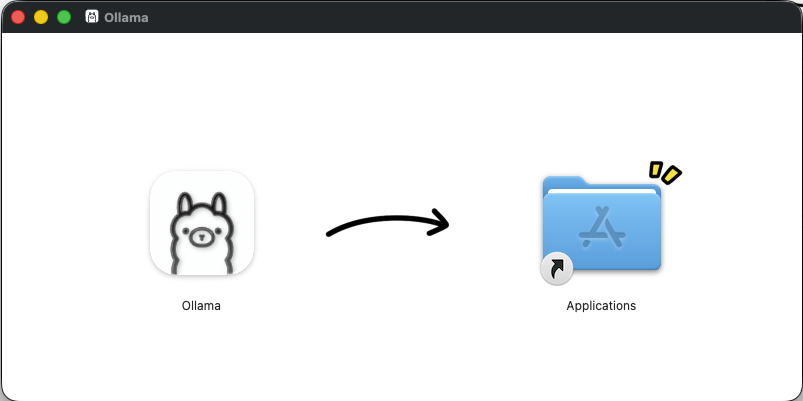
Open the downloaded Ollama.dmg file and drag the Ollama icon to the Applications folder.
Then open Ollama from the Applications folder - a small llama icon will appear in your menu bar, the app starts! From here continue just like in the Windows version in the previous section, as the user interface is the same on both operating systems.
Installation on Linux
On Linux, ollama can be installed to /usr/local using an installer script:
curl -fsSL https://ollama.com/install.sh | sh
Alternatively, you can also install ollama manually in any location, the instructions for this can be found here: https://docs.ollama.com/linux
Once you have installed ollama, you can start it with ollama run <modelname>. The possible model names and the description of the models can be found here: https://ollama.com/library Google’s gemma 3 model, for example, is started as follows: ollama run gemma3.
Some models come in multiple sizes, here you can then specify the size manually separated by a colon, e.g.: ollama run gemma3:1b. If you don’t specify a size, the latest version of the model is used, marked as “latest” on the website under the detailed description of the model, e.g.: https://ollama.com/library/gemma3 If the model is not yet available locally, it will be downloaded automatically. Since the models are often large, this can take a while.
If you want to use Ollama comfortably on Linux, it is recommended to install a suitable chat interface such as LibreChat or AnythingLLM.